|
The
following step-by-step guide to saving tomato seeds is the exact process
that we use here on the farm.
We have
found that the fermentation method results in
the cleanest seeds, along with the highest germination rates biological
possible.
In
presenting this guide, it is assumed that you are saving seed from tomatoes
that are not hybrids, are true-to-type, open-pollinated, and have not been
cross pollinated.
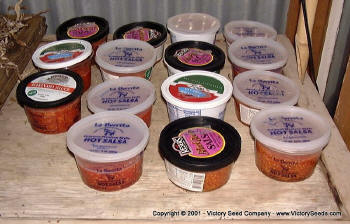
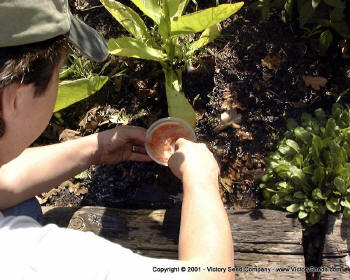
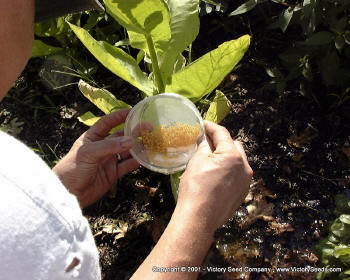
The first photograph shows a very common late summer / early fall scene
here on the farm; containers of fermenting tomato seeds.
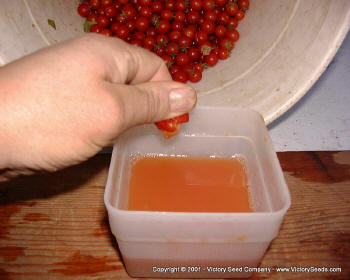
Most larger fruits are cut in half at their
equator and squeezed into labeled, washed and sterilized plastic containers. As seen in the above photo, small fruit can be simply squeezed. However, we have learned from experience that
puncturing or making a small cut in the fruit
will allow for better control of the squirting direction.
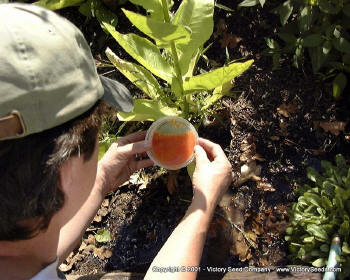
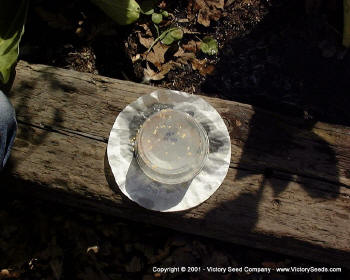
The containers of seeds and juice are then
placed in a warm location (80 degrees F is good) and out of the direct
sunlight with the lids loosely in place. The idea is to promote
fermentation. We stir or agitate these batches a couple of times during the fermentation
process as I have found that perfectly good seeds can get caught up on top
of the ferment scum, dry out, and become discarded. Also, if the lids are left on tight,
you might end up with a mess when they explode!
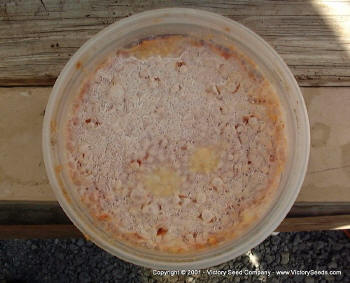
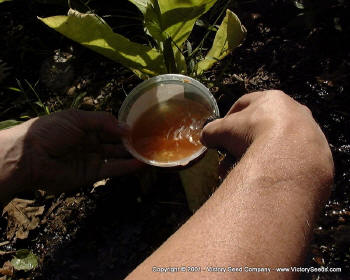
After two to three days of fermentation, this
photo is representative of what you will see in your containers. Be
attentive, check on them often, and DO NOT leave the seeds in this liquid too long or they will begin to
germinate. The seeds can also darken if left in this process too
long.
The fermentation process breaks down the
gelatinous material that encases the seed. These jelly sacks contain a
germination inhibitor so once it is gone, there is nothing holding the seeds
back from germinating. This is why you need to get them removed from
the liquid and to the drying process as quickly as possible.
Fermentation is also helpful in eliminating seed borne diseases.

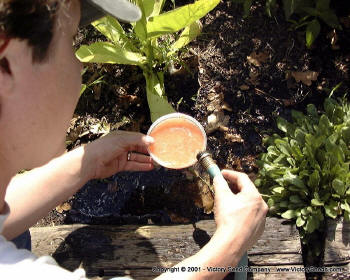
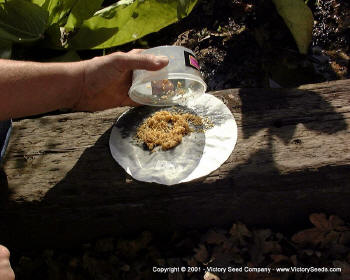
Once fermentation is complete and the seeds are
no longer surrounded by the gelatinous matter, find an out of the way
location in the garden and start the cleaning process by pouring off the top
scum, including the "big chunks" and floating seeds. Some people find the fermented tomato
smell to be offensive. To me it smells a lot like home brewing or
winemaking.
Add water.
Stir up the concoction.
Carefully pour off the material floating on
the surface. This will include bad seeds, tomato juice and other bits
of the tomato tissue.
Add more water and continue the rinse process. Some people simply pour this mixture through a strainer and wash. I
find that I eliminate a lot more undeveloped or bad seeds by this rinse and
pour method.
Continue the process. It is similar to
panning for gold. The nice, healthy, heavy seeds (gold) remain in the
bottom of the container while the other material washes away with the
liquid.
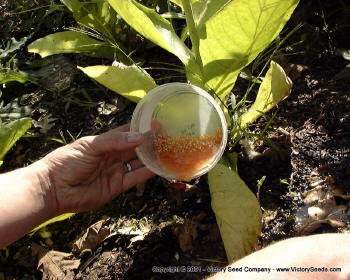
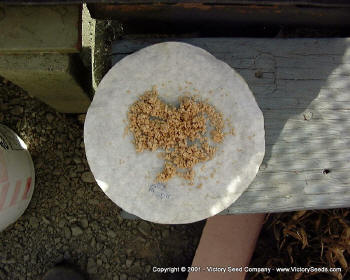
After a few wash / rinse / pour cycles, you
end up with a batch of beautiful seeds.
This step is the first in the drying process.
The container is quickly inverted onto your drying medium. If
you have small mesh drying screens, use them. If you are processing a
lot of different varieties and in fairly small quantities (one ounce or
less), cheap coffee filters work great. Do not use paper towels. The seeds will stick and you will regret it. Also, do not use metal or
plastic. You want something that will quickly wick the moisture away from the
seeds and promote drying.
This is what it looks like after picking up
the container. Make sure the filter is labeled with the variety and
date. You might think you will remember what they are, but it is a big
waste of resources when you don't.
Locate the
seeds in a warm location, out of the direct sunlight with good
ventilation. A fan may be necessary if you have high humidity. Stir a couple of times during the day breaking up the clumps of
seeds. Never dry in an oven.
You need to get
your seed dried quickly or it will start to sprout. Complete drying can
take up to a week.
Properly
dried and stored, initial germination rates should be in the high
90% range. You should experience seed germination rates of
50% for up to ten years. Four to seven years are typical.
We store dried seed in airtight glass jars in a cool, dry
location. Small desiccant packets can also be used in the
jars to lower the moisture and thereby help to increase seed lifespan.
This is not the only
method of saving tomato seeds, but simply the method that has worked
well for us for many decades, producing seeds that have been grown
in hundreds of thousands of gardens throughout the world. |


